Seeing Fancade first time
Seeing Fancade first time
After launch animation ends, you see an island with a little yellow bot walking on it. Look down - there are four main pages: Quest, where you are currently, Arcade, Build and You. Let's focus on Build page.
Projects
At the very top of Build page you see a "Projects" folder. This is where all your kits, games and community scripts will be located. As for now, it's empty. Lets fix this.
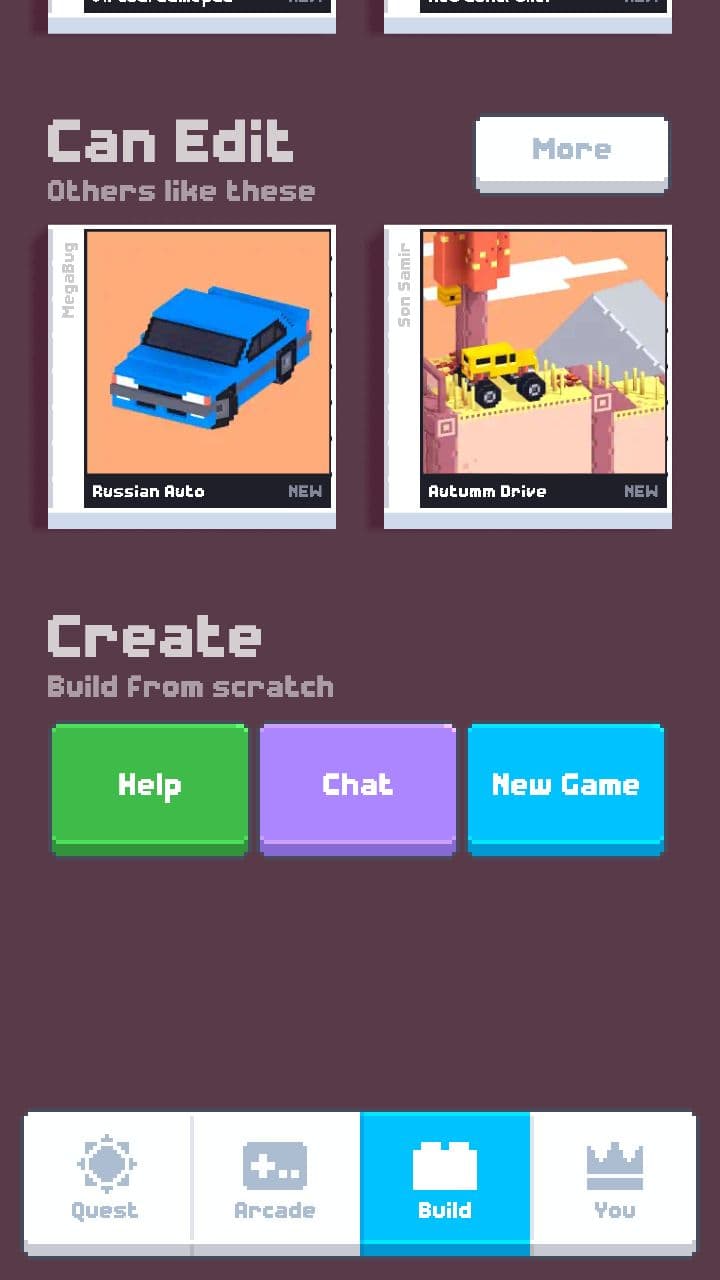
Scroll to the bottom and click a "New Game" button. Camera will scroll back to the folder, and you will see the project you have just created with a random name. Click on it.
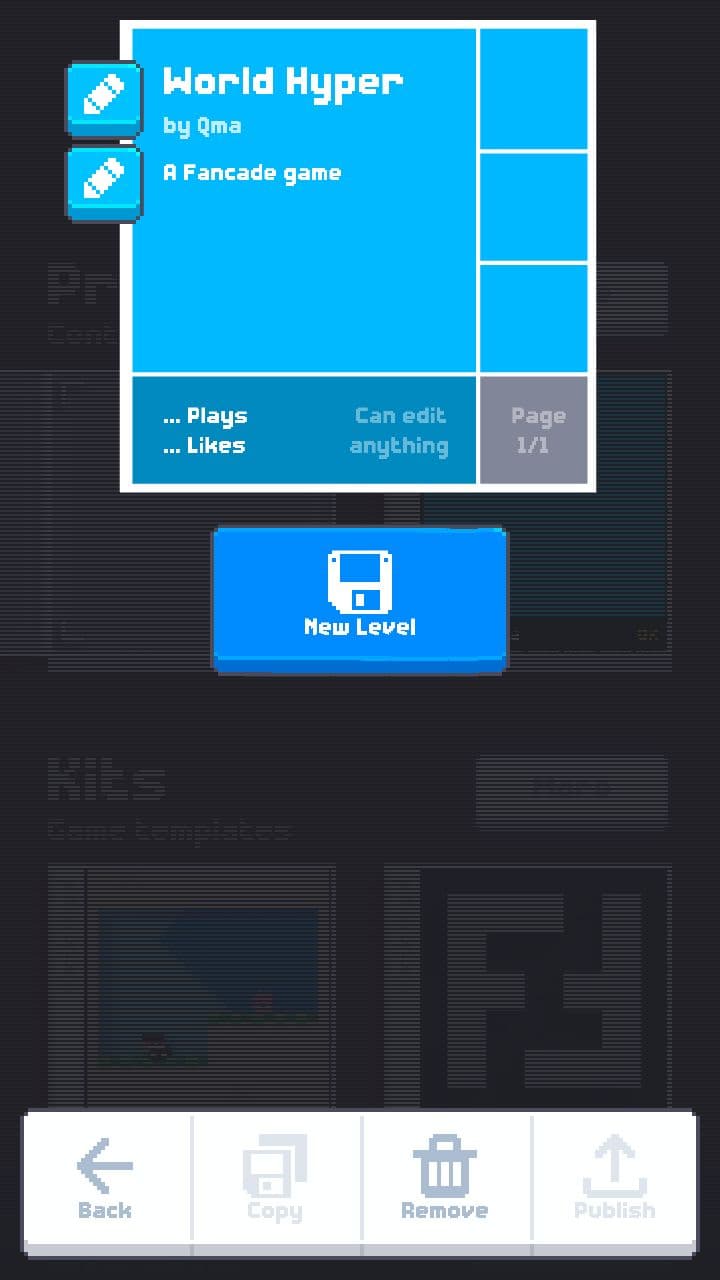
Now you see a project menu. Here you can change its name, description and, later, box art. Below this a big blue button asks you to press it, so do it.
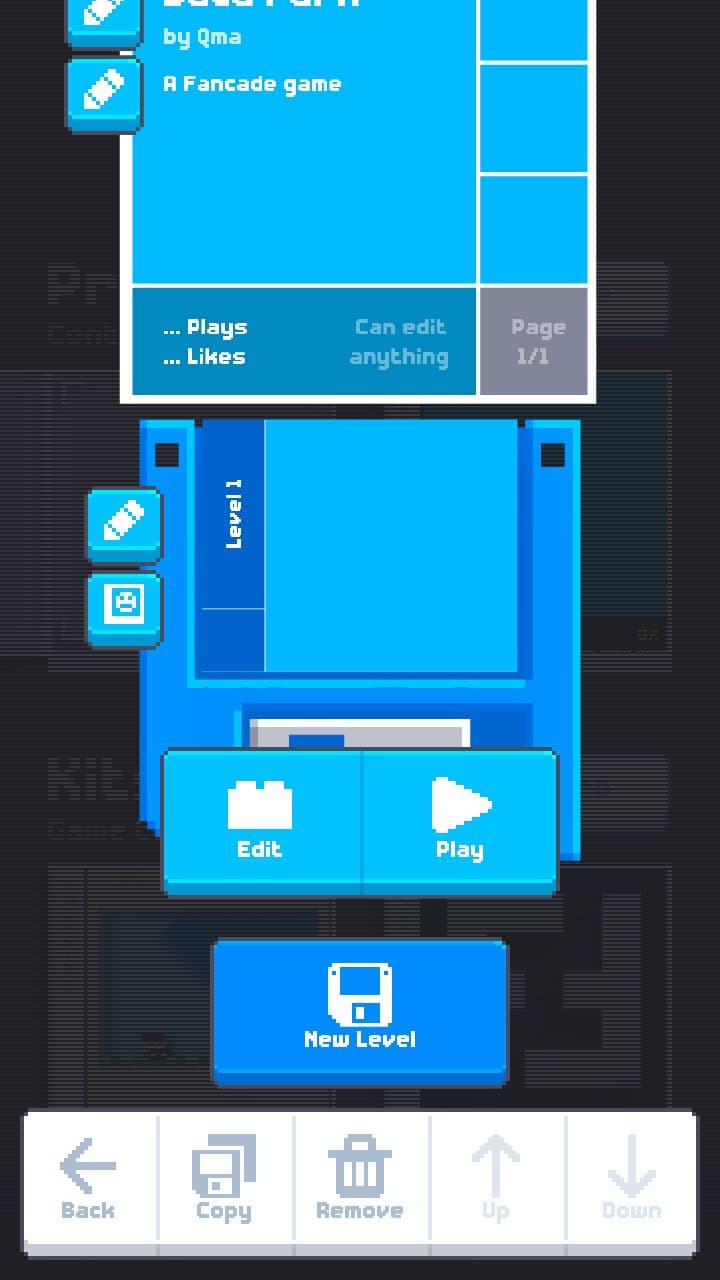
You have created your first level, that automatically got selected. In the level settings you can change its name and box art. But now we are more interested in the two buttons at the bottom of the floppy disk. They are "Edit" and "Play". In editor you do scripts, blocks, area and game as well. To know how does it look for the regular players, playing is present. Now tap on "Edit" button.
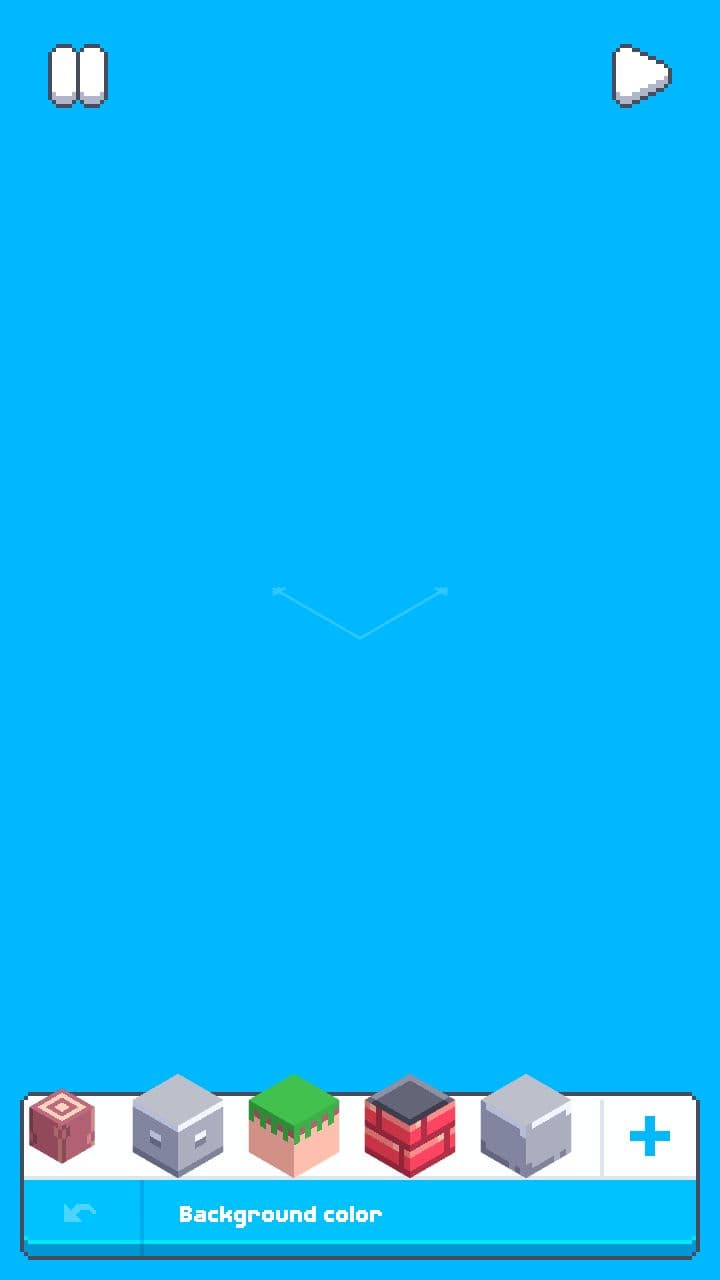
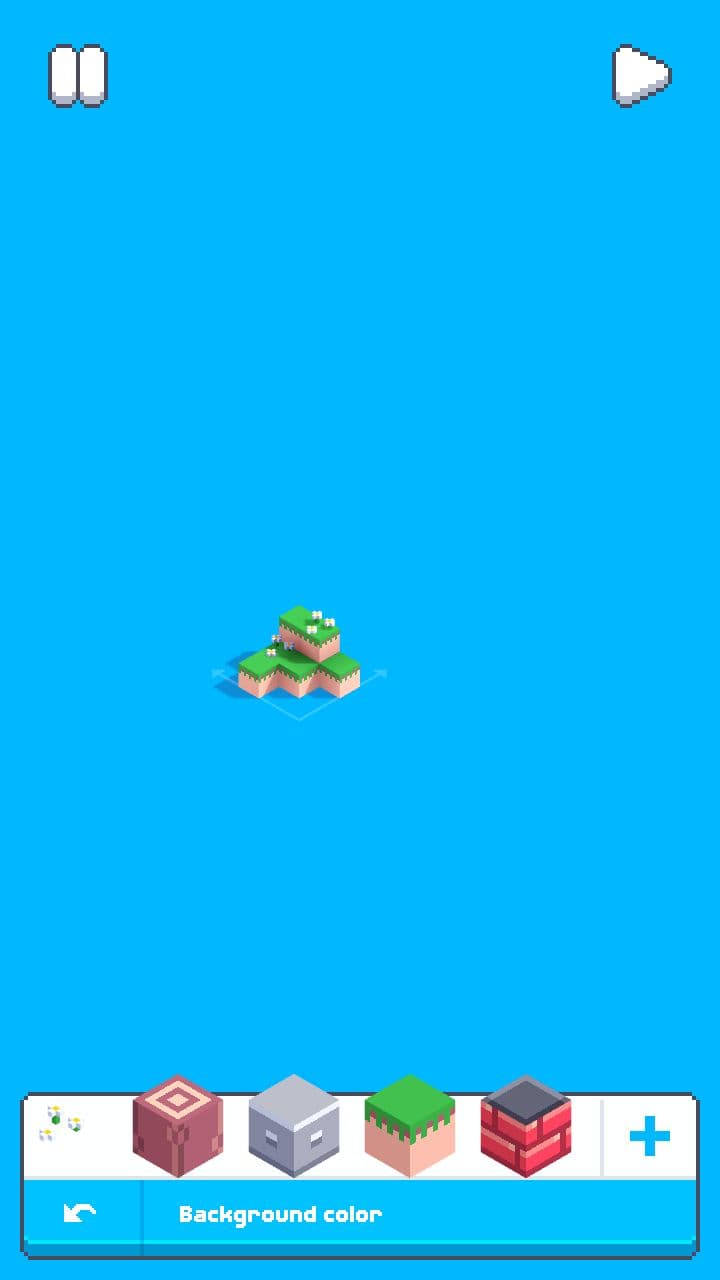
Welcome to the editor. Now you see two buttons at the top of the screen, blue space all the way around and a hotbar at the bottom. As for now, there are 5 building blocks. Pull the hotbar to the right and you'll see one more, flowers. Drag any block from hotbar to the world, and build something simple.
Not that comfortable, right? Camera is far and fixed at one point. Actually, no. By pinching in and out you can change camera zoom. Try it.
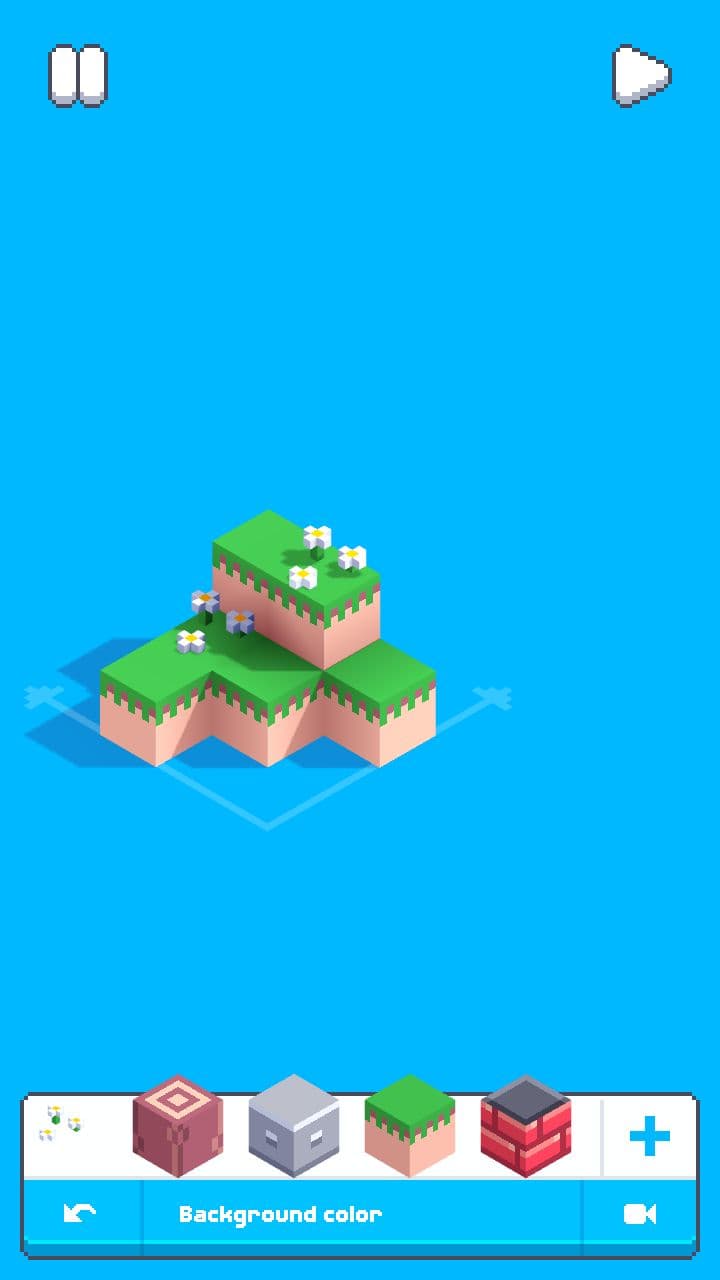
Now it's better. But what about the back side? Front is already done, and it doesn't let you to decorate back. To tilt the camera, move two fingers in circle in the same direction.
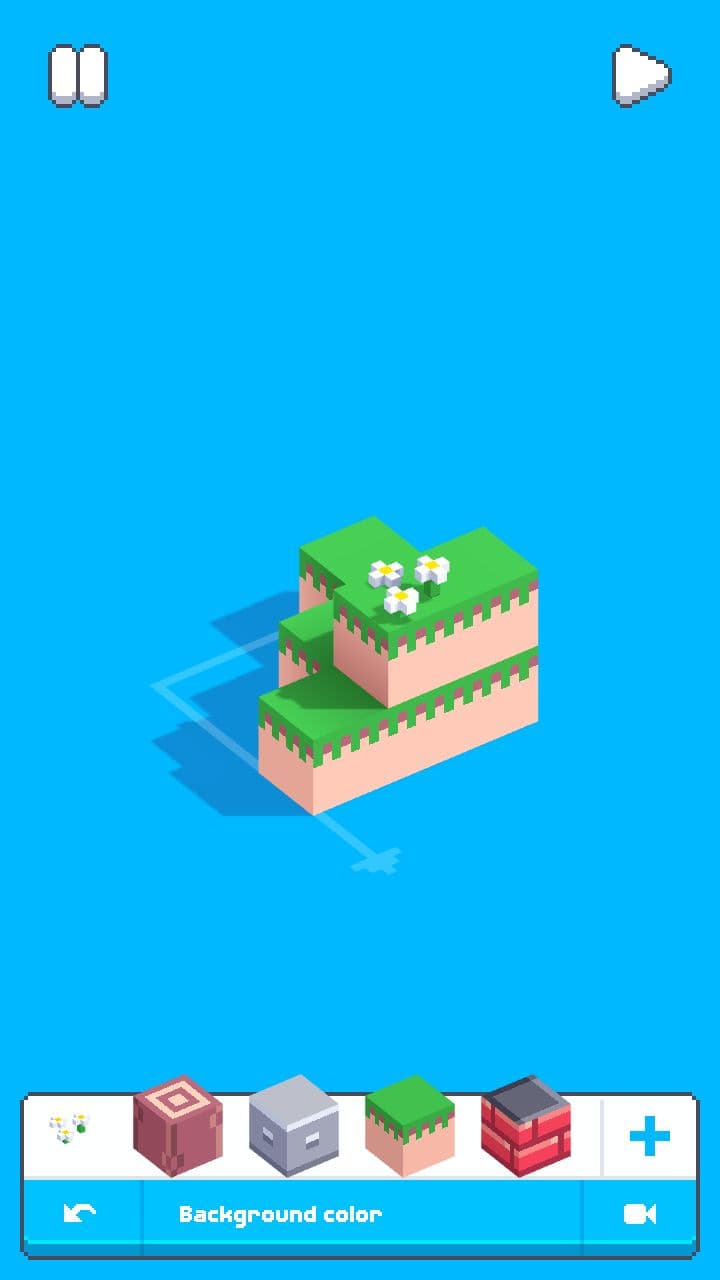
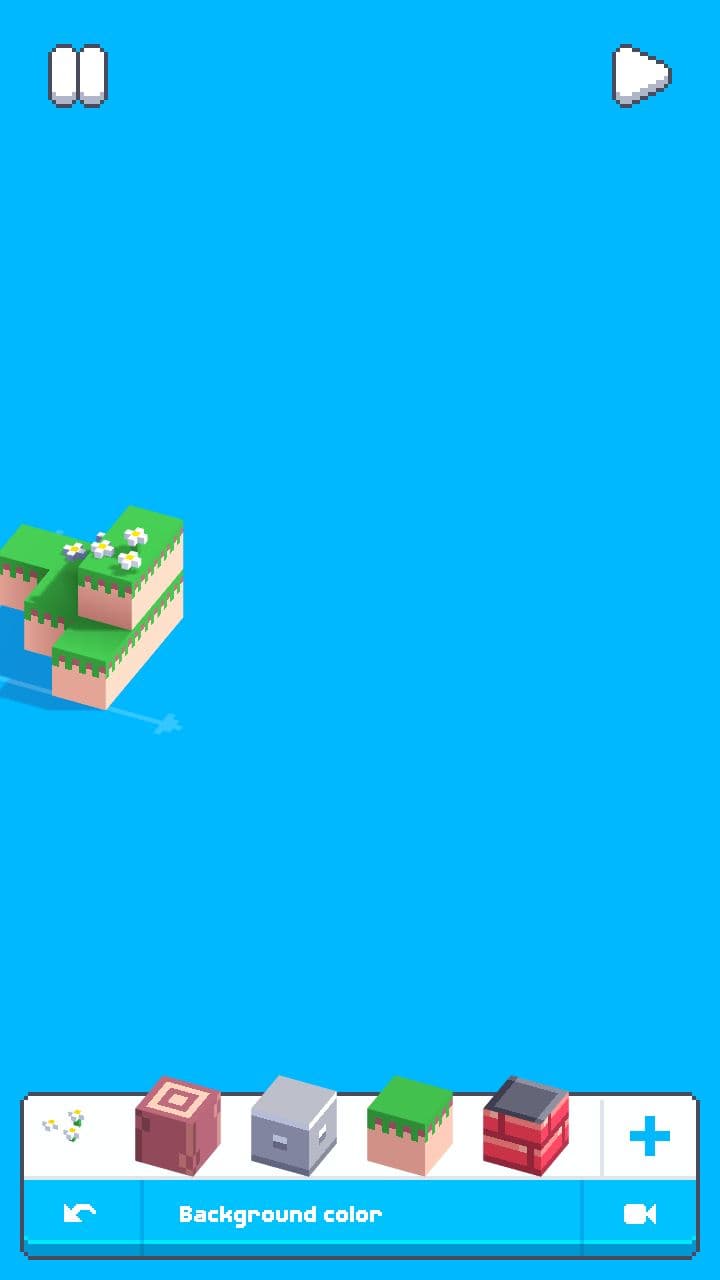
Here you go. But, you know, this thing is boring now. Lets build a tree somewhere else. But first, you need to move away from your first creation, not just to rotate a camera. To do this, move both your fingers in the direction you want to move.
Great. Now just build a tree of your dream. You know how to do it. Oh, wait, you're right. There are no leaves block. Of course you can use grass as it, but… No, better lets take leaves. Press on + button at hotbar, and inventory will pop up.
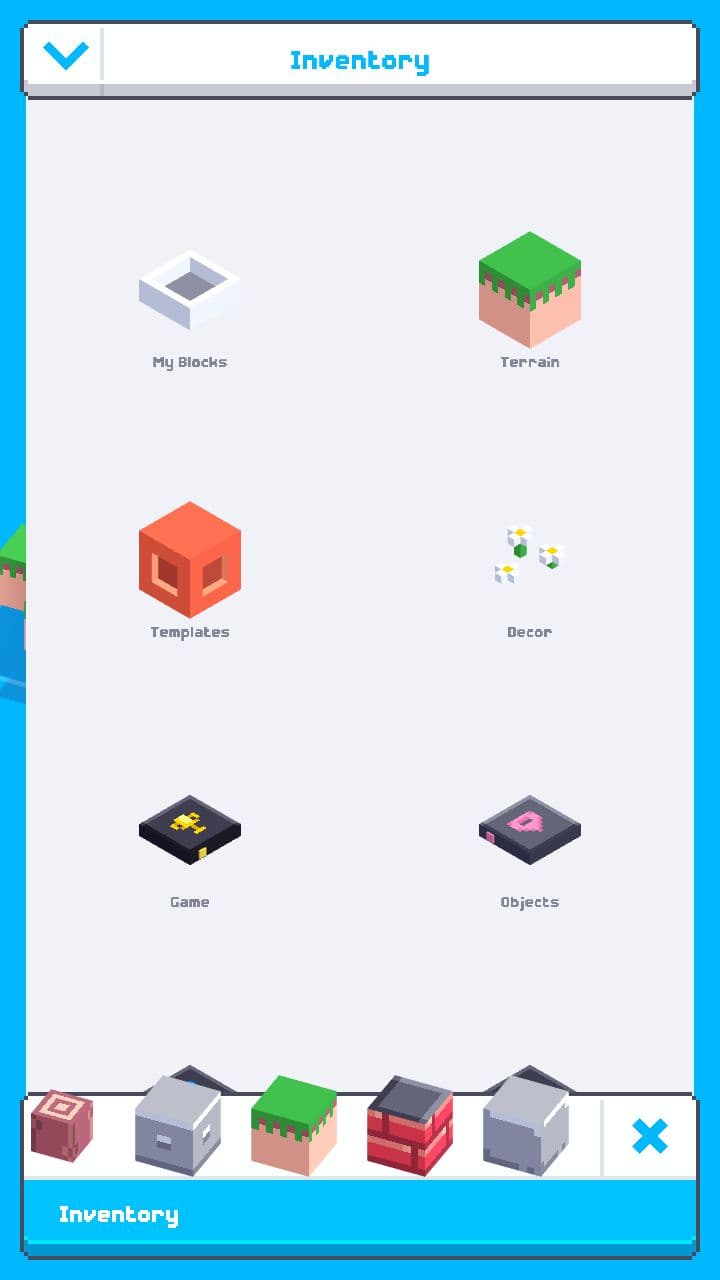
You see different folders. First one is useless as for now, second one is what we are looking for. Open it and find Foliage blocks. Pick some of them and finish your tree.

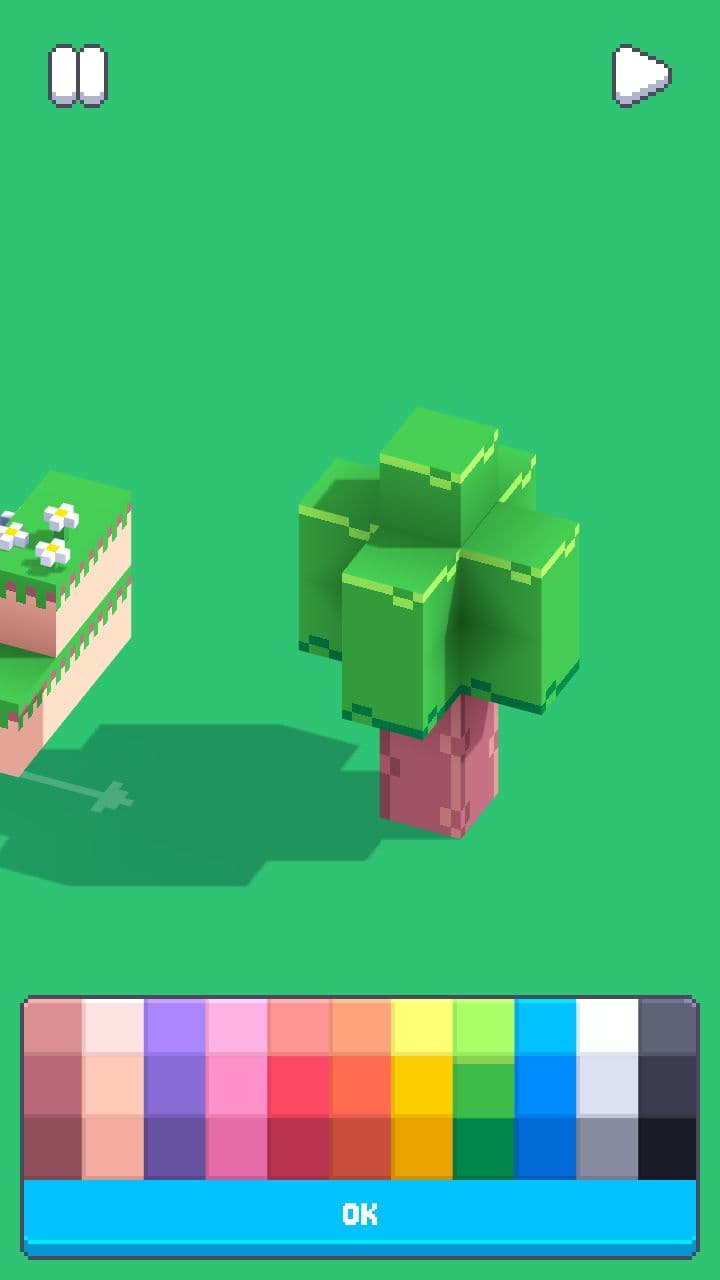
Excellent. But trees aren't growing on nothing, right? They're growing on terrain, not on blue space. Lets fix it. Tap on "Background color" button below hotbar and select a green color.
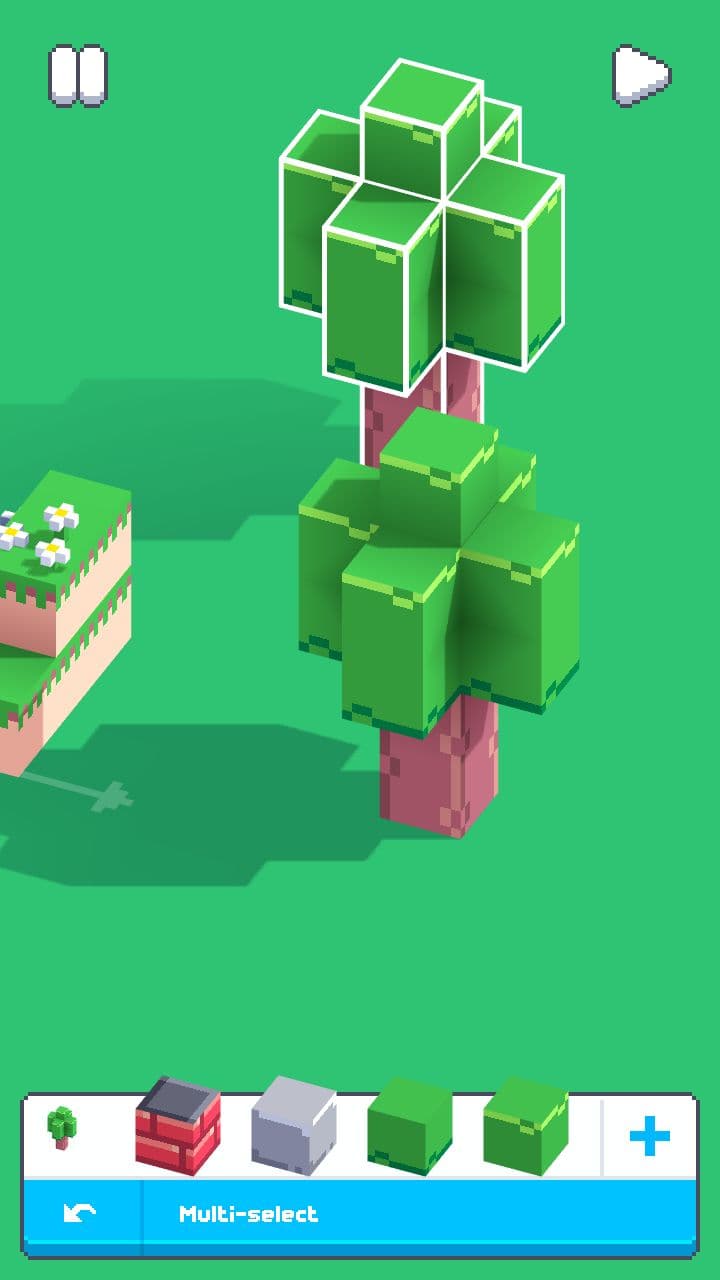
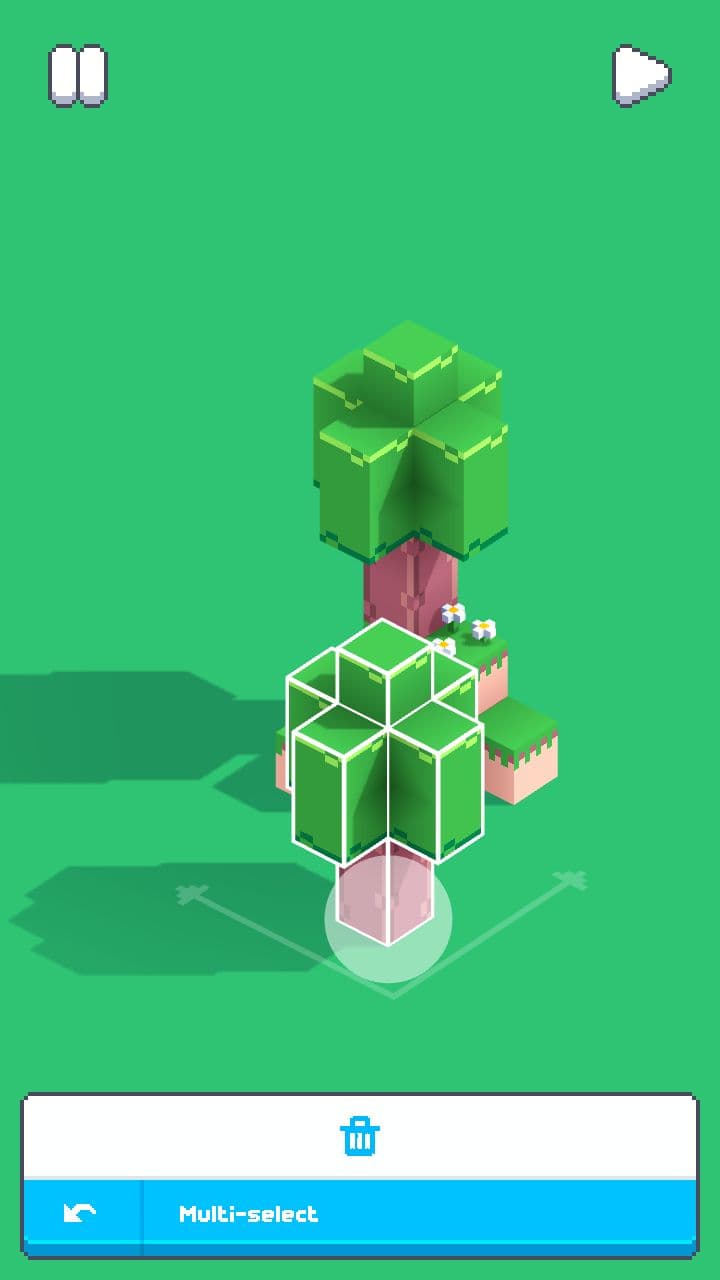
Now it's even better. But there are still a plenty of unused space, and only one tree. This is not okay, we need more oxygen. Leave color selecting menu by pressing "OK" and then select your tree. By running one finger on the screen you select all the blocks, located inside created white rectangle. Selected blocks gains white outline.
Now, take a look at the very left of hotbar. There is a mini version of your tree. Drag it as you do with blocks, and paste another tree somewhere in the level.
Okay, but what about a terrain we created at the very beginning? It also wants a tree. But since we already have two, lets just move one of them. For this just select and drag an existent tree.
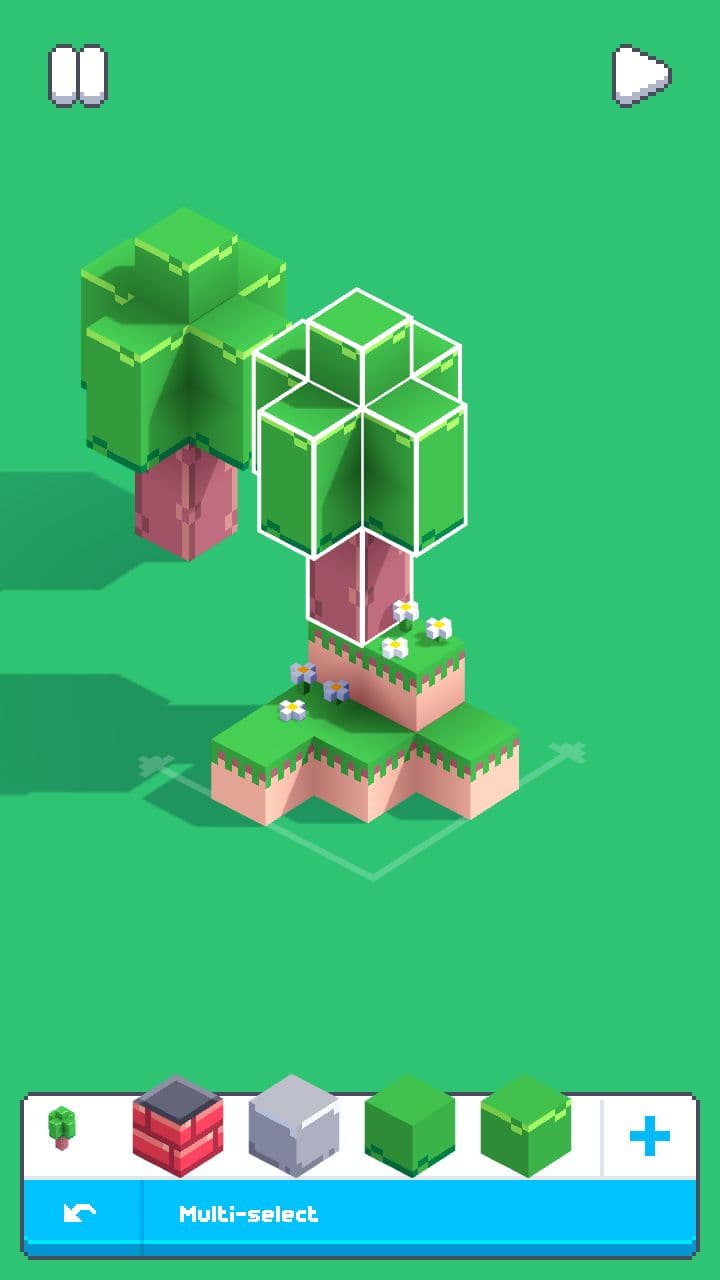
Uh, this second one left alone. Sad, but we are too lazy to create another terrain for it. So select it and drag to the delete button, poped up at hotbar's position.
Perfect. Now you can fly around your composition, decorate it even more or just delete it. Now you know editor basic controls: moving, building, copying, deleting, changing color and had your first look at the inventory.